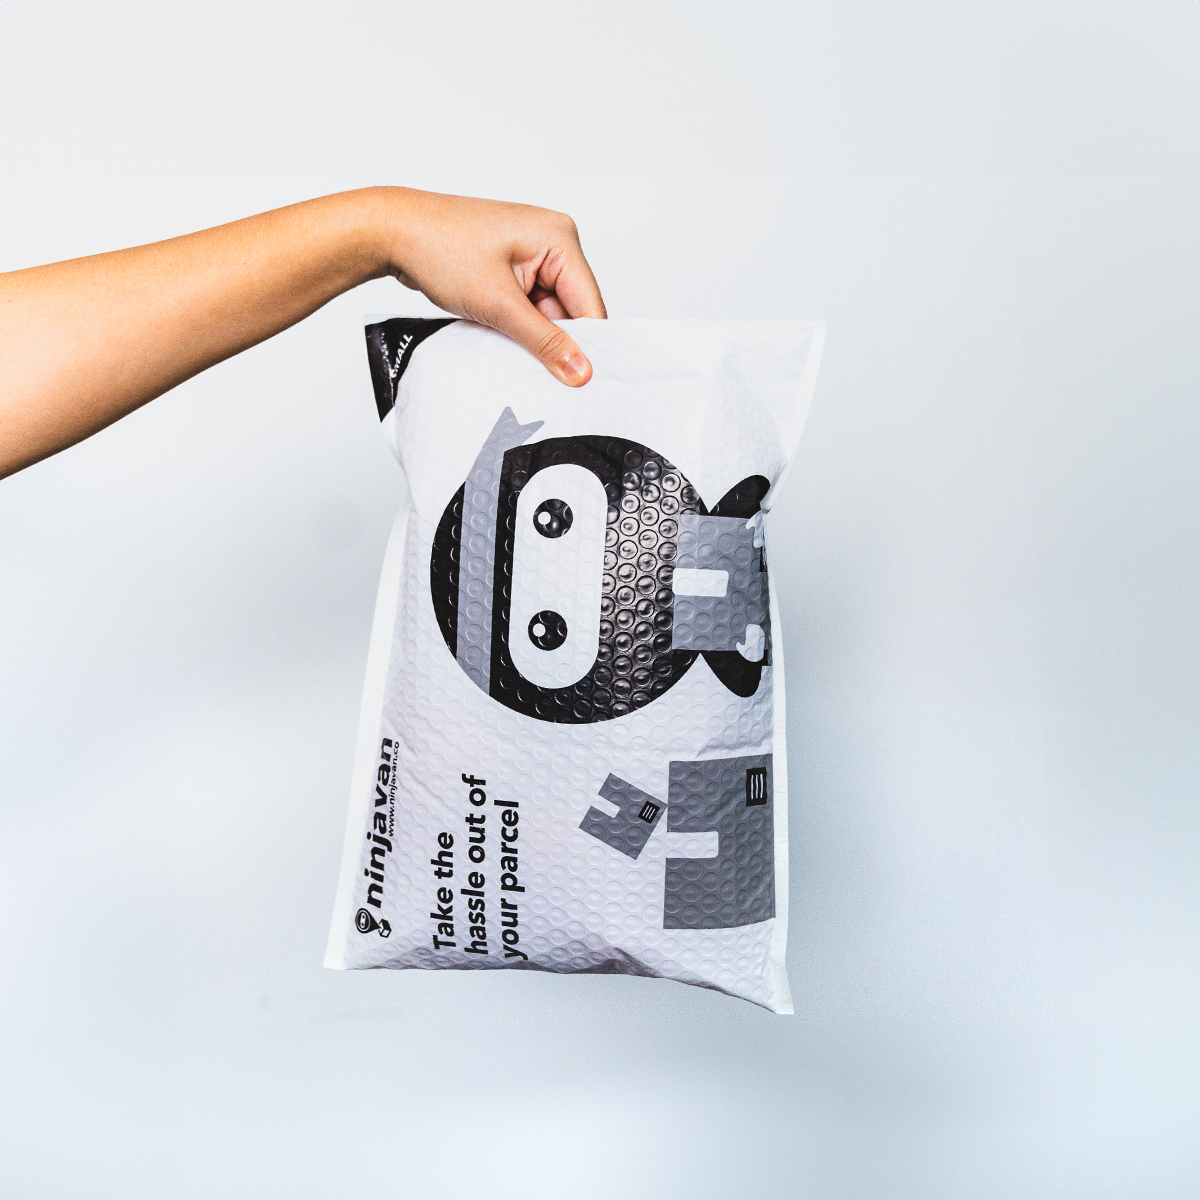
How to use Ninja Packs
1. Buy your Ninja Packs.
You can buy Ninja Packs online here and now, or at any of our partners' stores islandwide. For online purchases, your Ninja Packs will be delivered to you within 3 business days.2. Login to Ninja Dashboard.
Once you have received your Ninja Packs, login to Ninja Dashboard using this link. If you already have an account, simply log in to get started. If you do not already have a Dash account, you can simply sign up here.3. Create a new order.
a. Once you have logged in, click on "New order".

Note that we will only use this address to ship your undelivered parcel back to you (in the event of 3 unsuccessful delivery attempts). Please make sure the information provided is accurate as we will not be liable for any lost or unaccounted parcels.


If you are using a mobile device, you will be directly directed to the single order creation page. The bulk creation option is currently not available for mobile devices.

- Key in your recipient's information. Please fill in the mandatory fields: Ninja Pack ID (printed on your Ninja Packs), Customer Name, Customer Contact, Customer Address and Postcode. If necessary, do also provide us with further information: Cash On Delivery, Customer email and Delivery instructions.
- If you have several parcels to ship, you will need to create an order each one of them. Click on "+ Add Another" to create a new order. Once you are done creating orders, hit "Save & Continue".

- Once you have reviewed and confirmed all your order details, click "Confirm".

- You can directly upload your file on the popup window. If it is your first time uploading a file, we highly recommend that you download our template (either .CSV or Excel), and fill it in with your recipients' information. To keep the bulk upload process simple, we highly recommend that you keep the column headers as they are in the template.
Tip: Add an apostrophe before the digit zero for postal codes which begin with zero to avoid order creation errors after bulk upload e.g Input ’012345 instead of 012345

-
Once your file is uploaded, you will need to select a file mapping template. Double check that the template you choose matches with the file you uploaded by clicking the "eye icon"on the right.

-
In this example, the column headers (in grey) match template. If you do not see a match, please update your template by clicking "Edit Mapping"on the right. If your template matches, click the "Confirm mapping"button to continue.

-
Validate the template choice by clicking "Save & Continue".

-
Once you have reviewed and confirmed all your order details, click "Confirm".


Important notes:
- Please note that every order created on the Ninja Dashboard is valid for a period of 30 days, and will need to be dropped off during that period. Any Packs dropped off after this period will be automatically rejected.
- You do not need to write any information on your Ninja Pack. We will use the information provided in the Order Creation process to sort and deliver your parcel.
- Ninja shall not proceed with any delivery if the order for the Ninja Pack is not created or captured on the Ninja Dashboard.
4. Drop off Ninja Packs.
Drop off your Ninja Packs at any of our 800+ Ninja Points islandwide.5. Track your parcel effortlessly.
With Ninja Van’s proprietary real-time tracking technology, know where your parcel is, anytime, anywhere! Never lose a parcel again! Just visit our tracking page, type in your parcel tracking ID and find out where your parcel is.6. We'll deliver your Ninja Packs!
Your parcel will be delivered to your recipient's doorstep within 3 working days after pickup. If it remains undelivered after 3 delivery attempts, your Ninja Pack will be sent back to your return address.
Packaging Guidelines
External packagingAll parcels must have external packaging that covers 100% of exposed area (e.g. carton box, poly mailer). For Ninja Packs, the goods must strictly fit in the poly mailer. Misuse of Ninja Packs (i.e. taping a Ninja Pack on a large carton box) will result in penalties and/or Return to Sender. |
|
Internal packagingPackage should be packed tightly and snugly. If not, please fill up the empty spaces in-between (with paper, packing foam, etc.) |
|
Empty areasAll packaging must be tight and snug. If not, please fill with filling materials. (e.g. styrofoam ball) |
|
Transport handlingThe Ninja Pack should be able to withstand normal impact of transport handling. For parcel with sensitive exteriors (e.g. gift boxes), please ensure they are shrink or bubble-wrapped and packed in another cardboard box. |
|
Fragile itemsAll fragile items must be wrapped in multiple layers of bubble wrap before prepacked in an extra protective layer (i.e. solid carton box). A minimum of 8cm of bubble wrap protection is recommended. A fragile sticker must be labelled on the Ninja Pack |
|
 |
Bottles and liquidsWhen sending liquor, wine or any other bottled items, please ensure they are bubble-wrapped and packed in a plastic bag to prevent spillage. |
Tracking labelEach Ninja Packs must have a unique tracking label. If, for any reason, you are required to print a new tracking label, please make sure to paste it on top of the original one. |
|
ClothingEnsure all pieces of clothing are neatly folded and packed to minimise crumpling or wrinkling during the delivery process. |
|
Electronic devicesEnsure that all electronic devices are powered off, and batteries should be removed from devices if possible. |
|
Shipping labelTo ensure smooth sort and delivery of your parcel, please make sure that your exterior, or packaging, does not have any old addresses or tracking labels. |


